Evidence on a planned case (on experimental model) by using the Winmed-2 Pro software and Galileo device (Patent Pending).
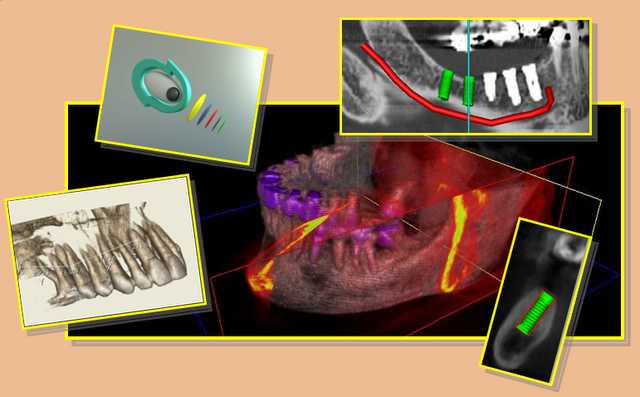
The software Winmed, together with Galileo and Copernico devices allows to prepare very quickly and comfortably surgical templates for the preparation of implant sites according to a prosthetic guided method.
The following experimental case describes an approach typology (susceptible of changes) which explains the necessary steps to build such surgical template with the cooperation of one’s own dental mechanic lab and with no needs of expensive stereolithography models and without the employ of CAD_CAM technology.
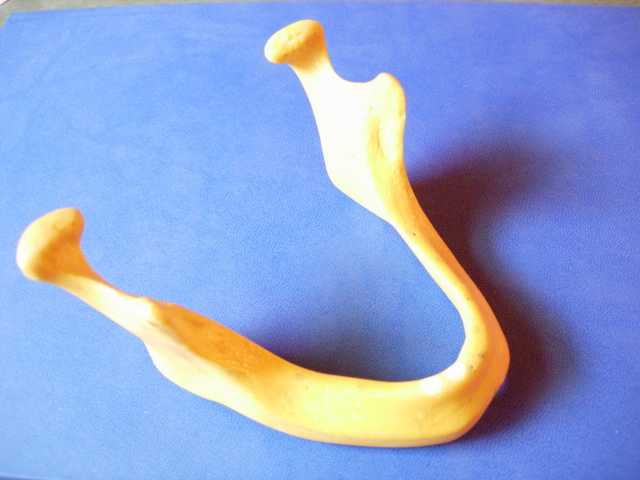
We have chosen an artificial jaw made of plastic material to simulate the dimensions of the edentulous bony structure of a patient.
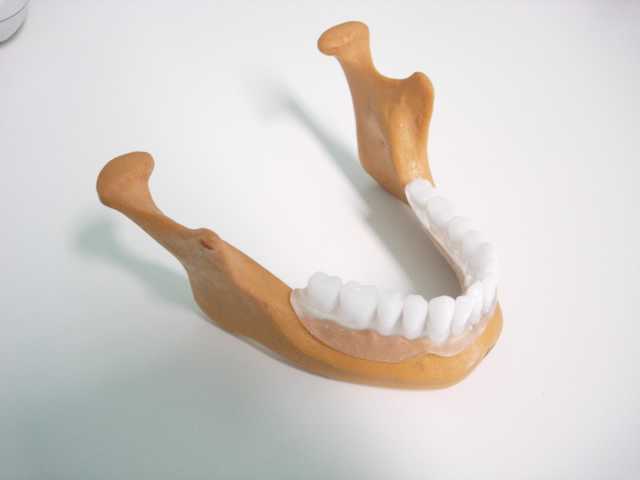
Our own dental technician lab makes an ideal prosthetic mounting by employing of radio-opaque teeth.
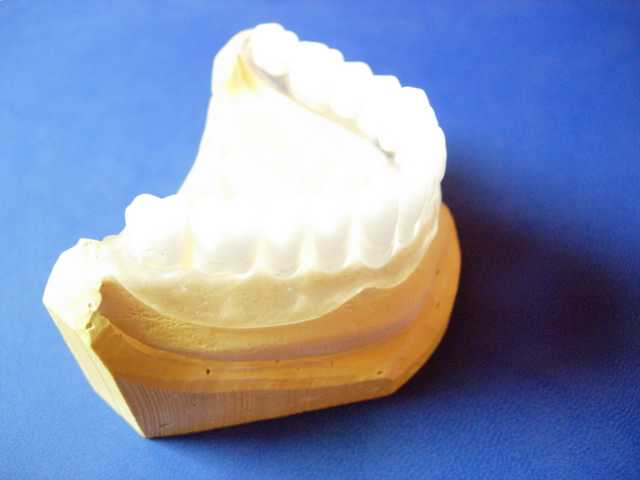
We have obtained a chalk model from the artificial jaw, after taking of an imprint. This will be necessary for the positioning of Galileo or Copernico device.
In the real case you will proceed by taking the exact imprint of the arch of a patient and from that you will obtain the working model for the making of the ideal prosthetic mounting and positioning of the Galileo or Copernico devices as above mentioned.
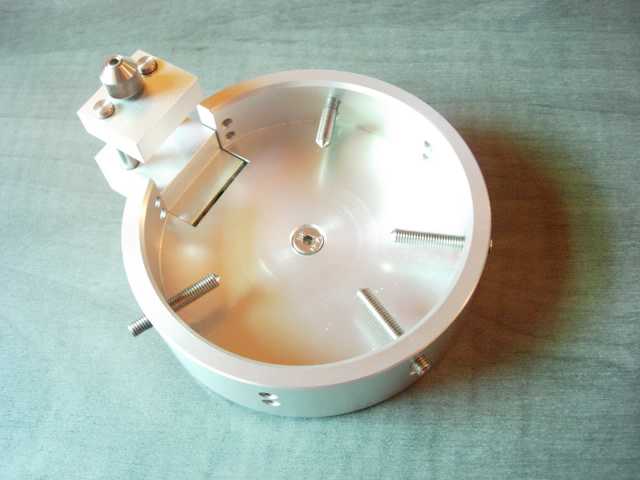
View of the positioning plate (same either for Copernico or Galileo).
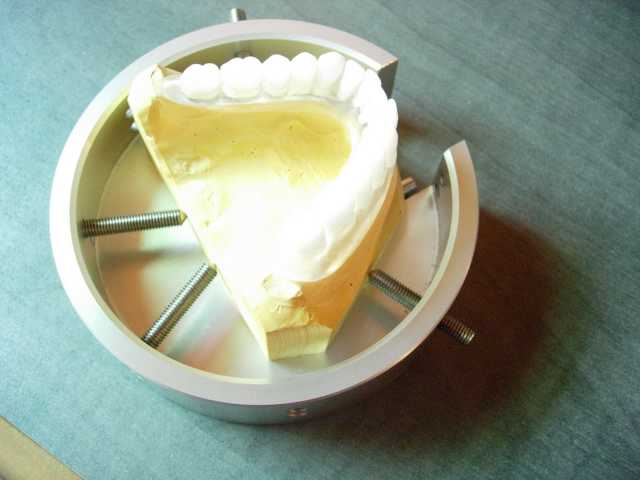
Model with the ideal prosthetic mounting in position, fixed on the positioning plate.
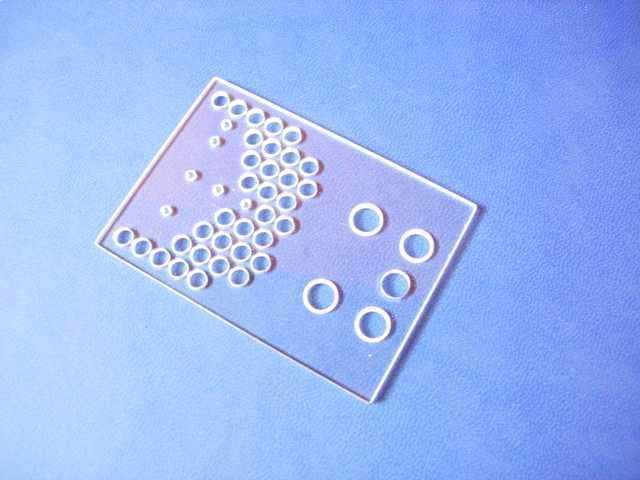
This reference plexigalss plate (called Spot Stage) contains inside some radiopaque spheres and it is necessary for the following calibration of the TC, which will be served by the software WinmedPro.
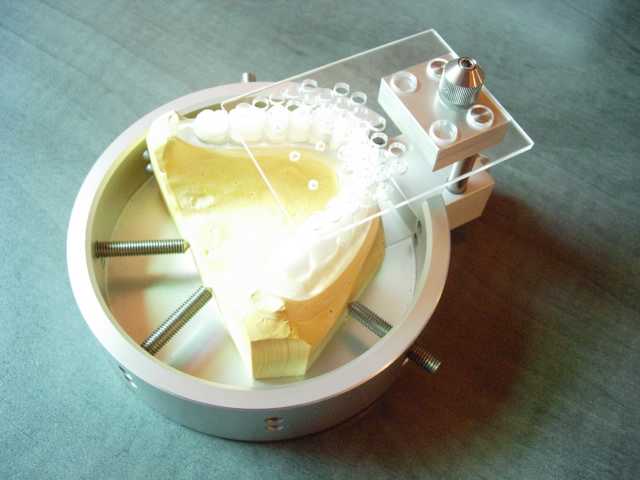
The plate is fixed on the prosthetic mounting, in such way we have set out and positioned a 3D reference system which will allow us to re-format the TC by re-calibrating the position and the orientation of the section plane consistently to the initial position of the patient. The radiologist will be then completely free from the responsibility to position in a perfect exactly way the patient into the TC instrument for scanning the dataset.
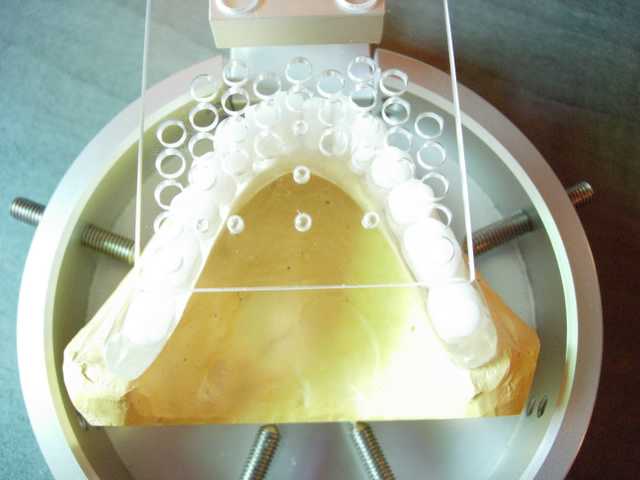
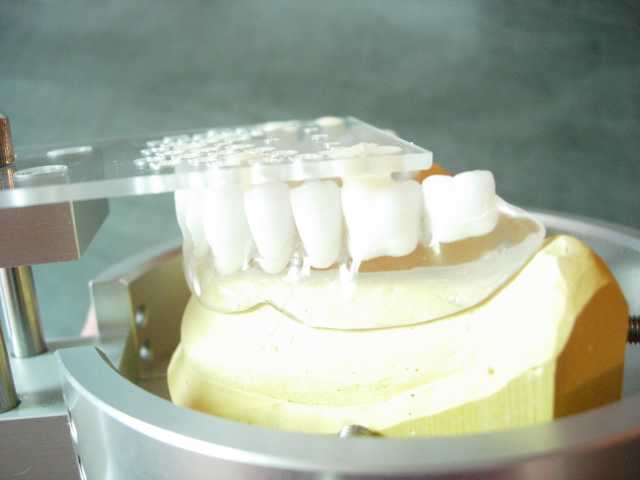
The plate is fixed to the prosthetic mounting by means of auto-polymerising resin, which is poured through the holes.
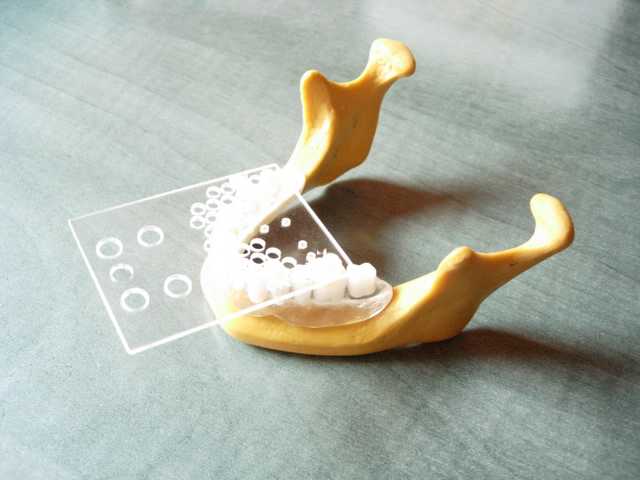
The ideal prosthetic mounting with the fixed plate repositioned on the artificial jaw.
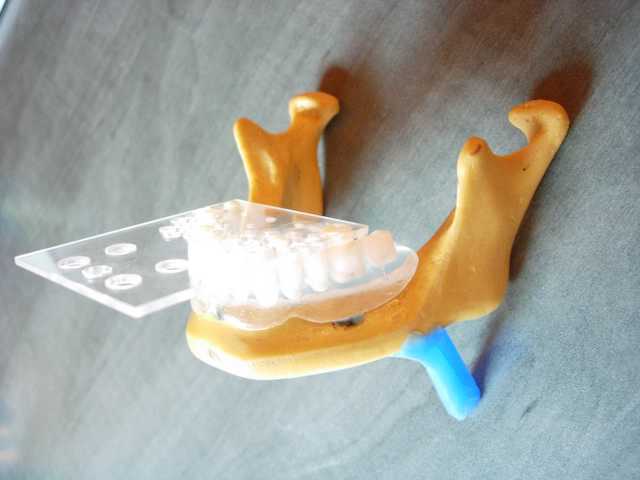
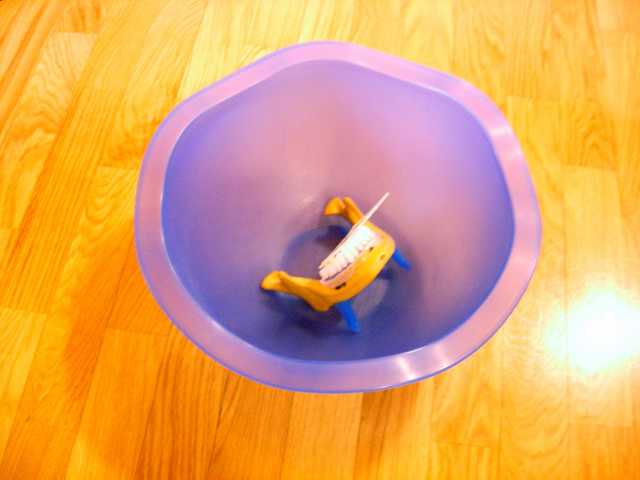
All is then placed into a container before executing the TC. The container will be later filled up with water in order to simulate the density and the absorption of the tender tissue of the patient.
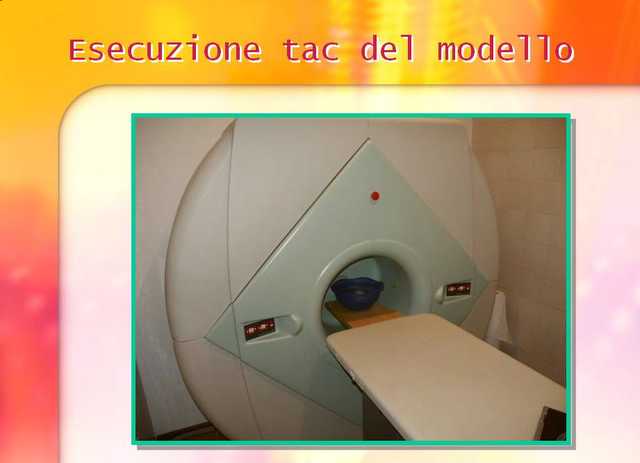
The experimental model while executing the TC.
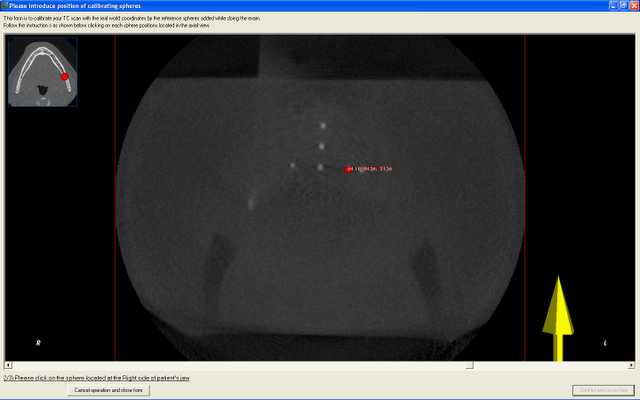
Once the digital dataset TC using WINMED PRO is loaded you will proceed with the calibration phase (following the proposed tutorial step by step). In three simple steps it will allow you to determine and mark the three principal reference points by recovering in the TC the radiopaque reference spheres.
Unfortunately the scarce density of this experimental model in resin causes that the bony structure appears in dark tonality (and so in radio-transparency ) while in the clinic reality the bone of the patient is displayed in way far from this.
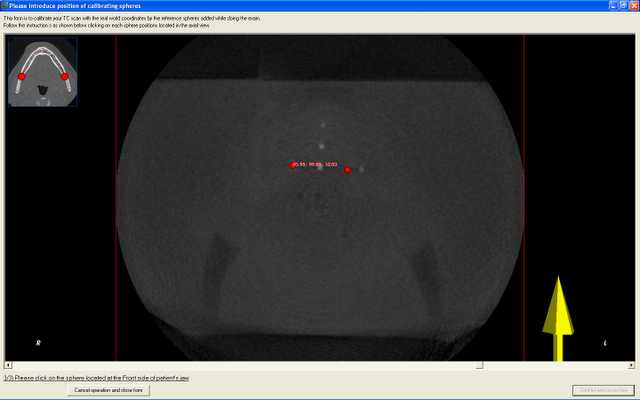
The second marker recorded.
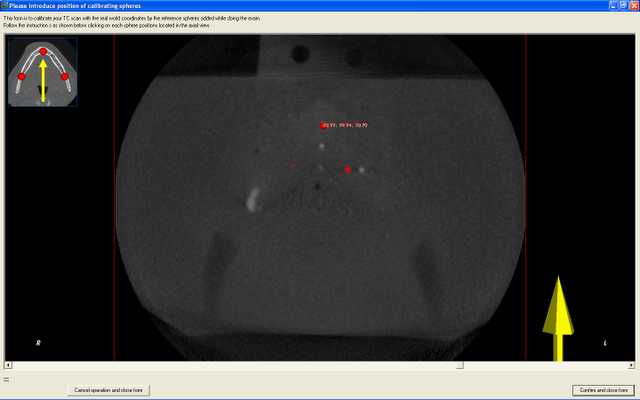
The third and last marker recorded.
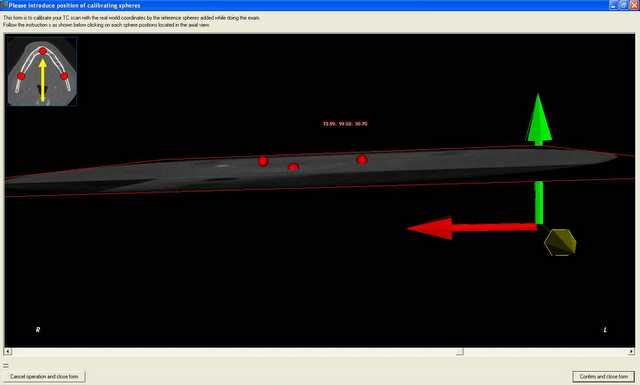
From the side view you can approximately quantify the difference between the axial scanning plane of the original TC and the plane shown from the reference spheres which determines our calibrate working plane.
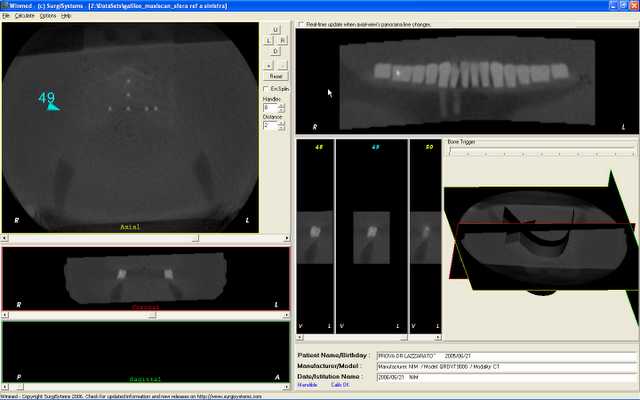
The dataset TC is then automatically re-formatted and re-calibrated from the software WINMED PRO according to the previous information. Now the TC is lined up , in the three planes of the space, as for position as for orientation, according to the reference system that we have fixed on the positioning place Galileo/Copernico.
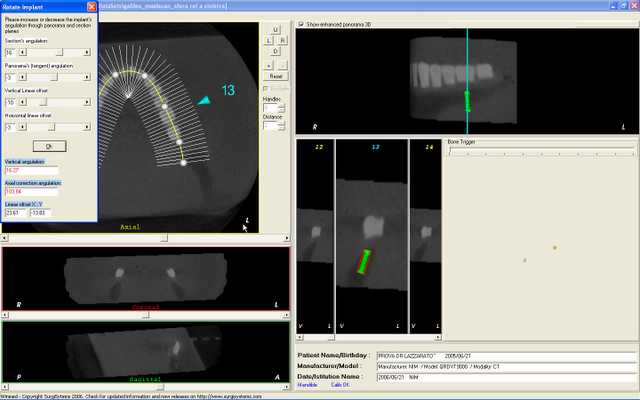
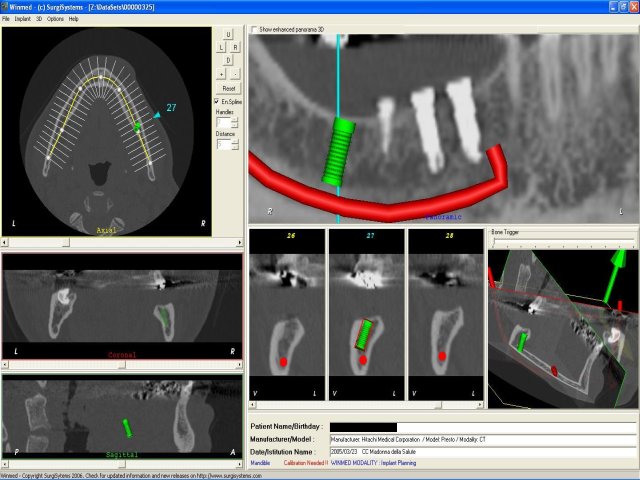
In the experimental case we have simulated the fitting of 4 implants with the software WINMED PRO (this image does refer to the first implant). In the screen of features control of each unique implant we have the possibility to vary, in real time, the dimensions of the implant and the parameters of positioning further then the inclination axes. In the same screen the 4 values for positioning are then displayed (2 values for angular correction and 2 values for linear correction updated in real time), these are the unique values that once printed will go then to the dental mechanic. These values are needed to individuate the position and the inclination of the implant axis on the initial ideal prosthetic mounting. This will be sufficient and necessary for the following fixing of the surgical guides which will be used during the surgical phase in order to prepare the implant alveolus in coherent way to the position and inclination of the same implant simulated with the computer.
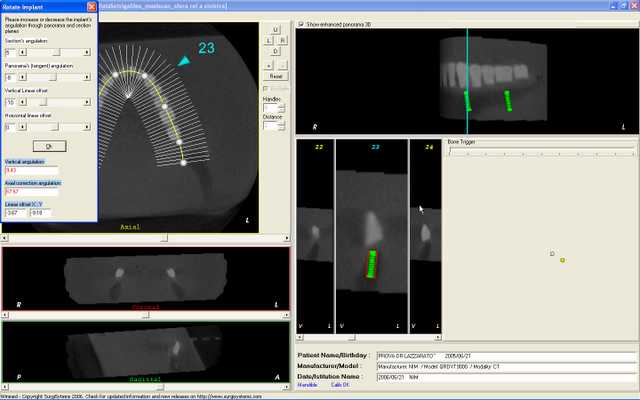
Second implant positioned in the software Winmed Pro.
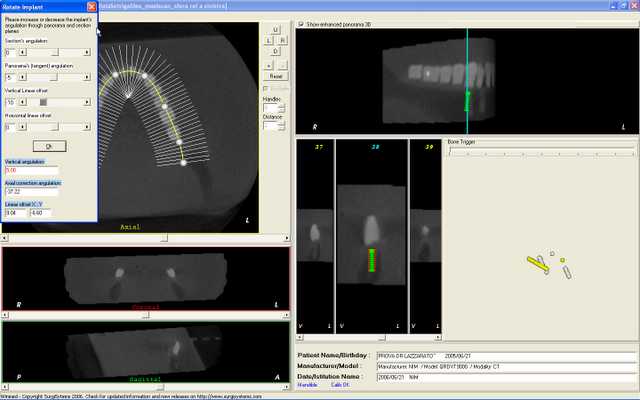
Third implant.
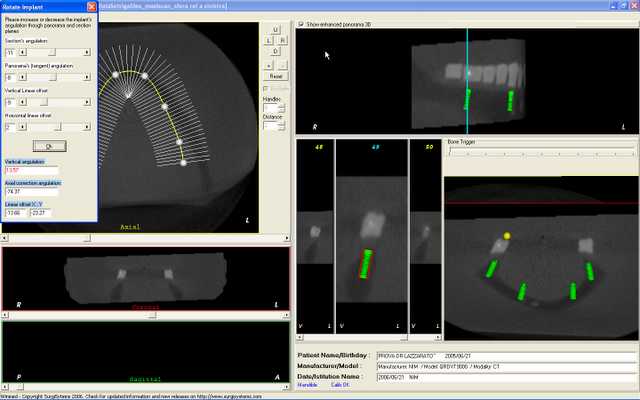
Fourth and last implant.
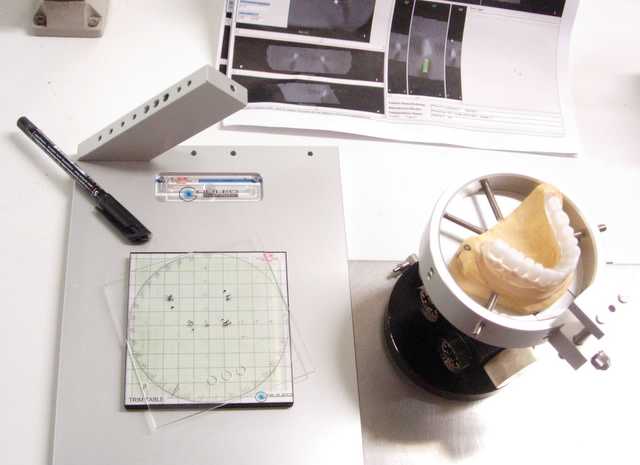
We have used the device Galileo to report the linear correction data of the simulated implant (i.e. the input point of the implant). A RAP-ARTIGLIO device will be then necessary to mount the positioning plate of the model (to which it is compatible) in order to report also the angular correction values. The RAP-ARTIGLIO is a device present from very long-time in the market and used by many dental mechanics labs. The same proceeding is for Copernico device as well (using same data), this is much more precise since it is equipped with digital cursor for setting the linear corrections. If you use Copernico device you will not need any RAP-ARTIGLIO device because the angular correction values are managed directly by Copernico self.
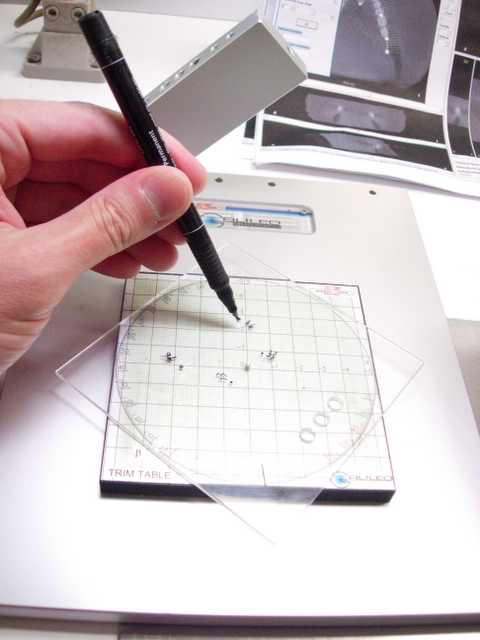
Points marking.
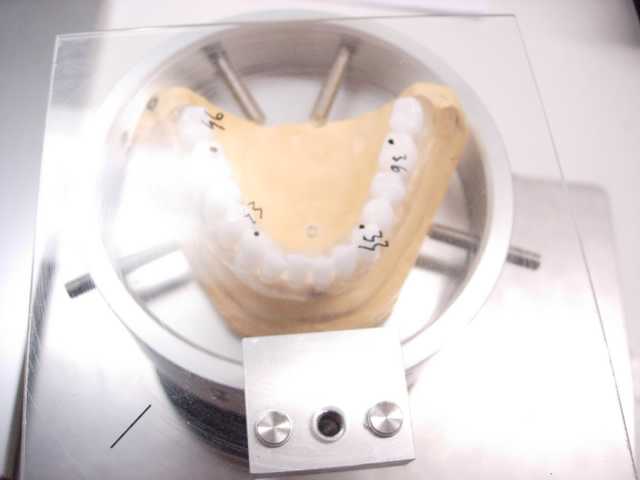
Points transferred to the model.
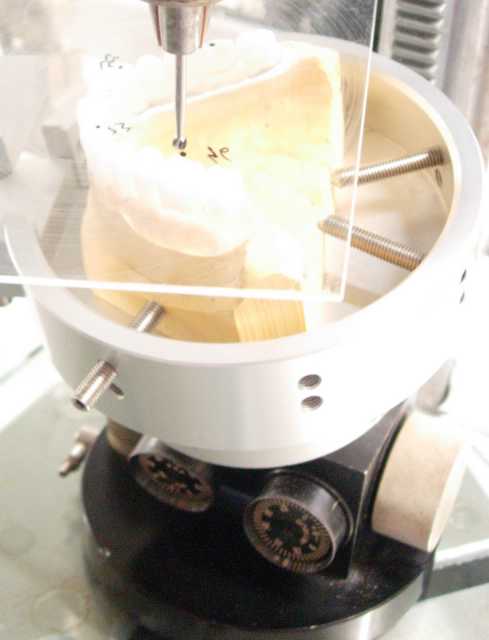
You just have to set up the angular correction on the RAP device and proceed to drilling/positioning of the surgical guides by using a vertical parallelometer.
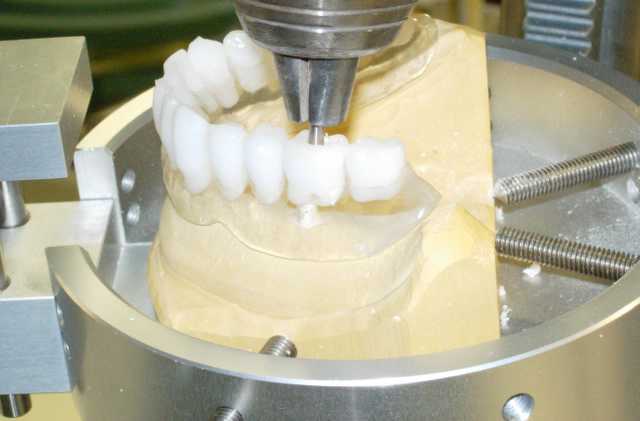
Drilling phase: drilling can manually be done by preparing a wide site to receive the surgical guide to be positioned later (by means of a suitable transfer) according to the correction values set. You fix then the surgical guide made of titanium to the prosthetic mounting with auto-polymerising resin.
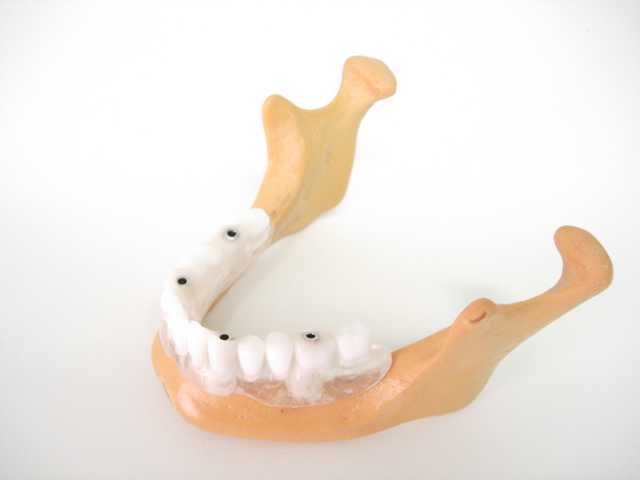
Four guides fixed. The experimental surgical template is ready.
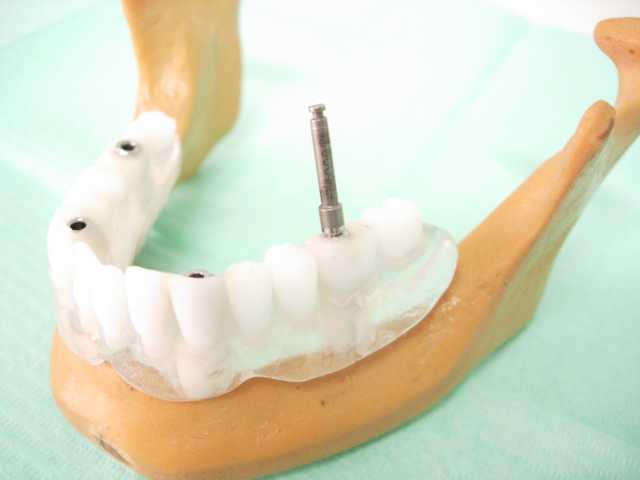
To make the test the artificial jaw is then drilled by using the template prepared as described.
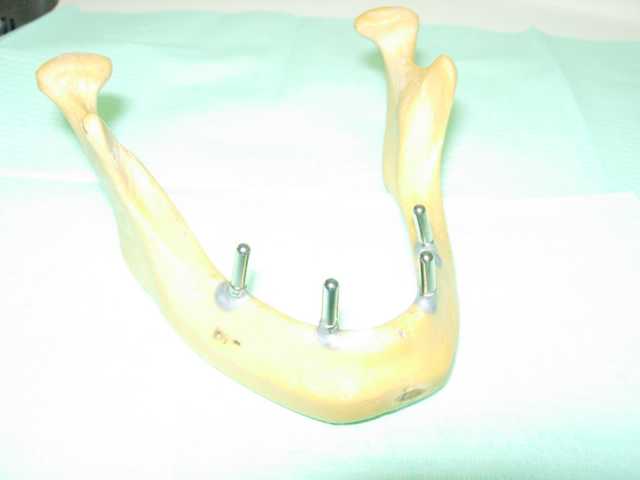
In the experimental case we have employed the unique
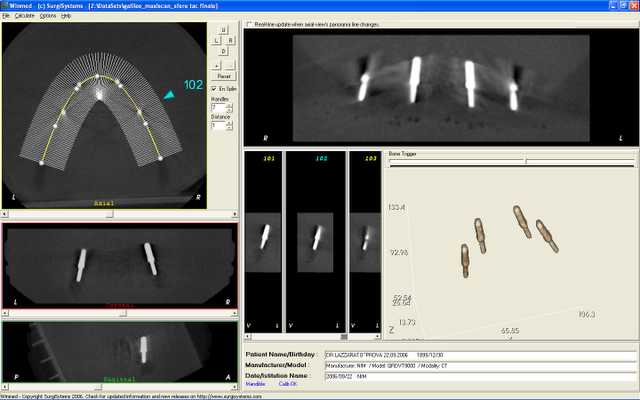
TC made for controlling the holes obtained with the
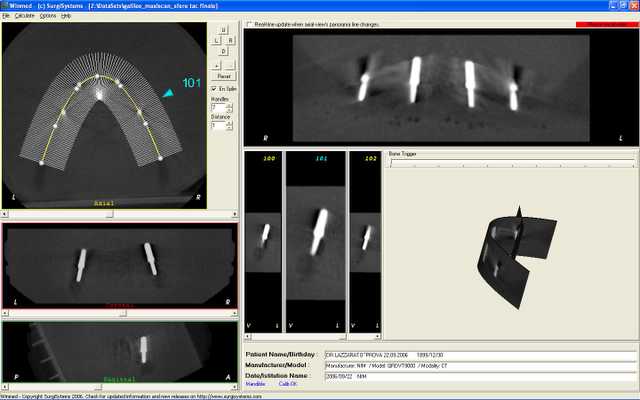
Trans-axial section enlarged which enlighten the first hole with the parallelism pin inserted.
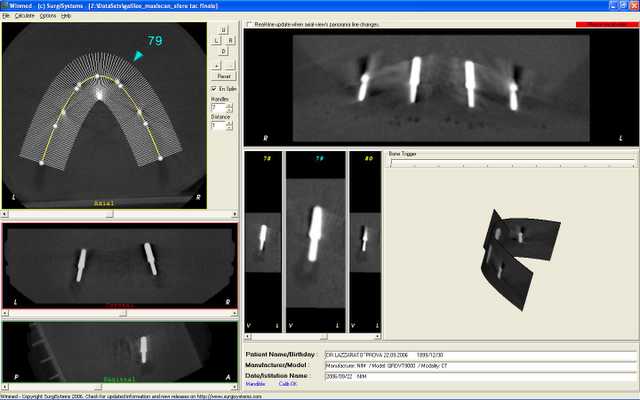
Second screen relevant to the second pin.
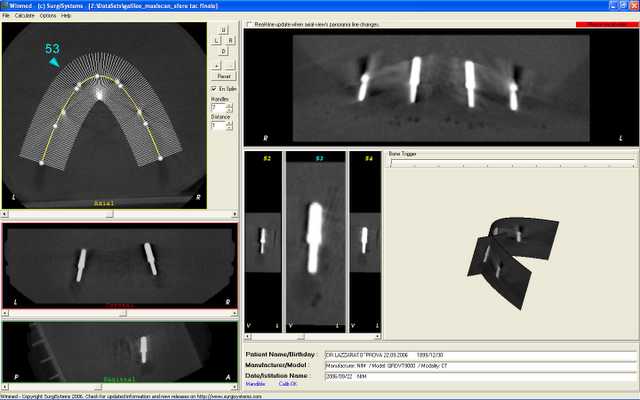
Third screen relevant to the third pin.
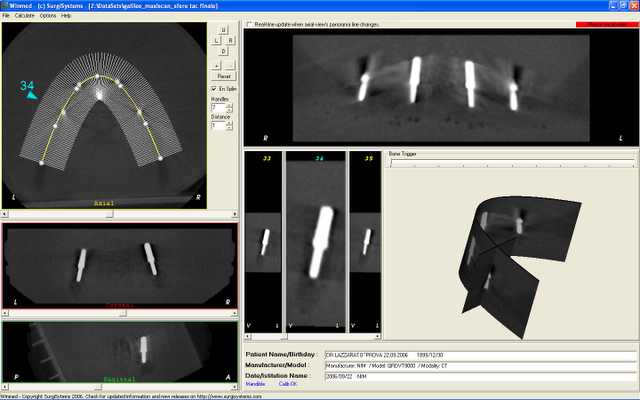
Fourth and last hole according to the position previously virtually planned at the PC. Real clinical case are being concluding and will then be published as soon as possible in this web site.
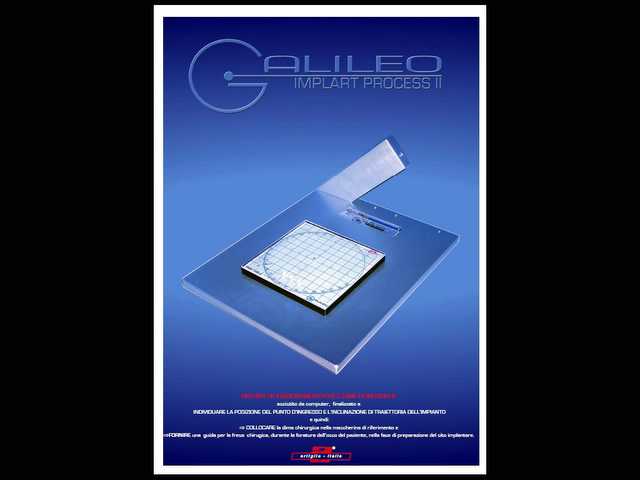
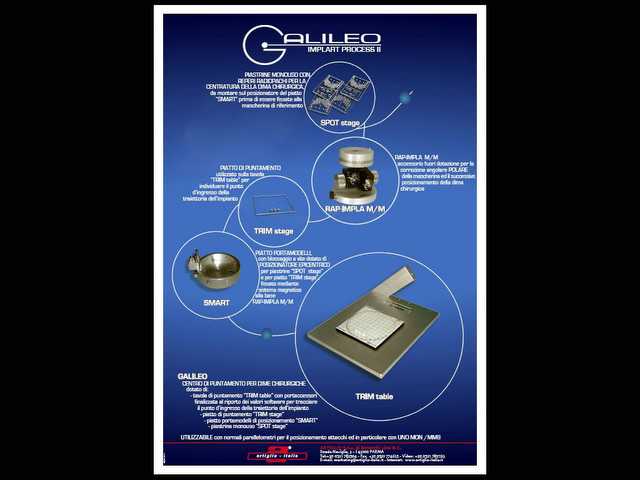
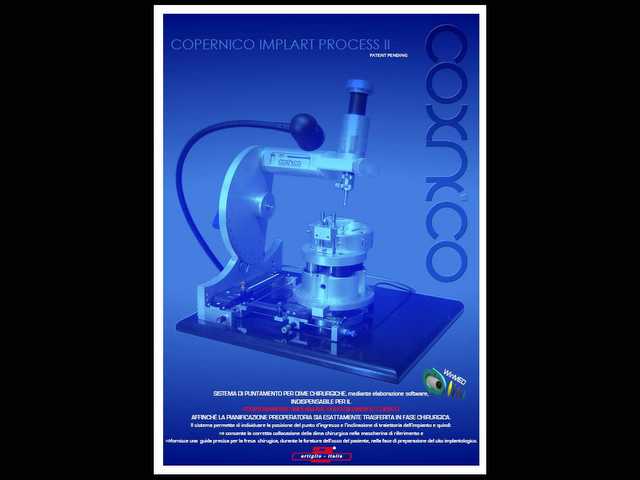
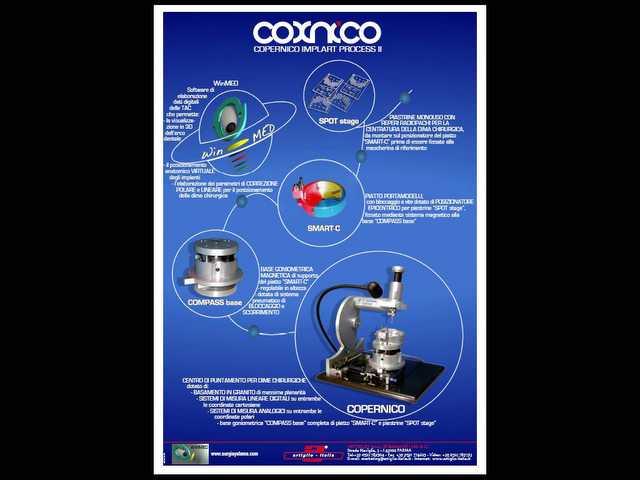
Click on the next image to see the complete enlarged version of the catalogue, either for the recent Galileo II and Implart or the previous Galileo I and Copernico.